

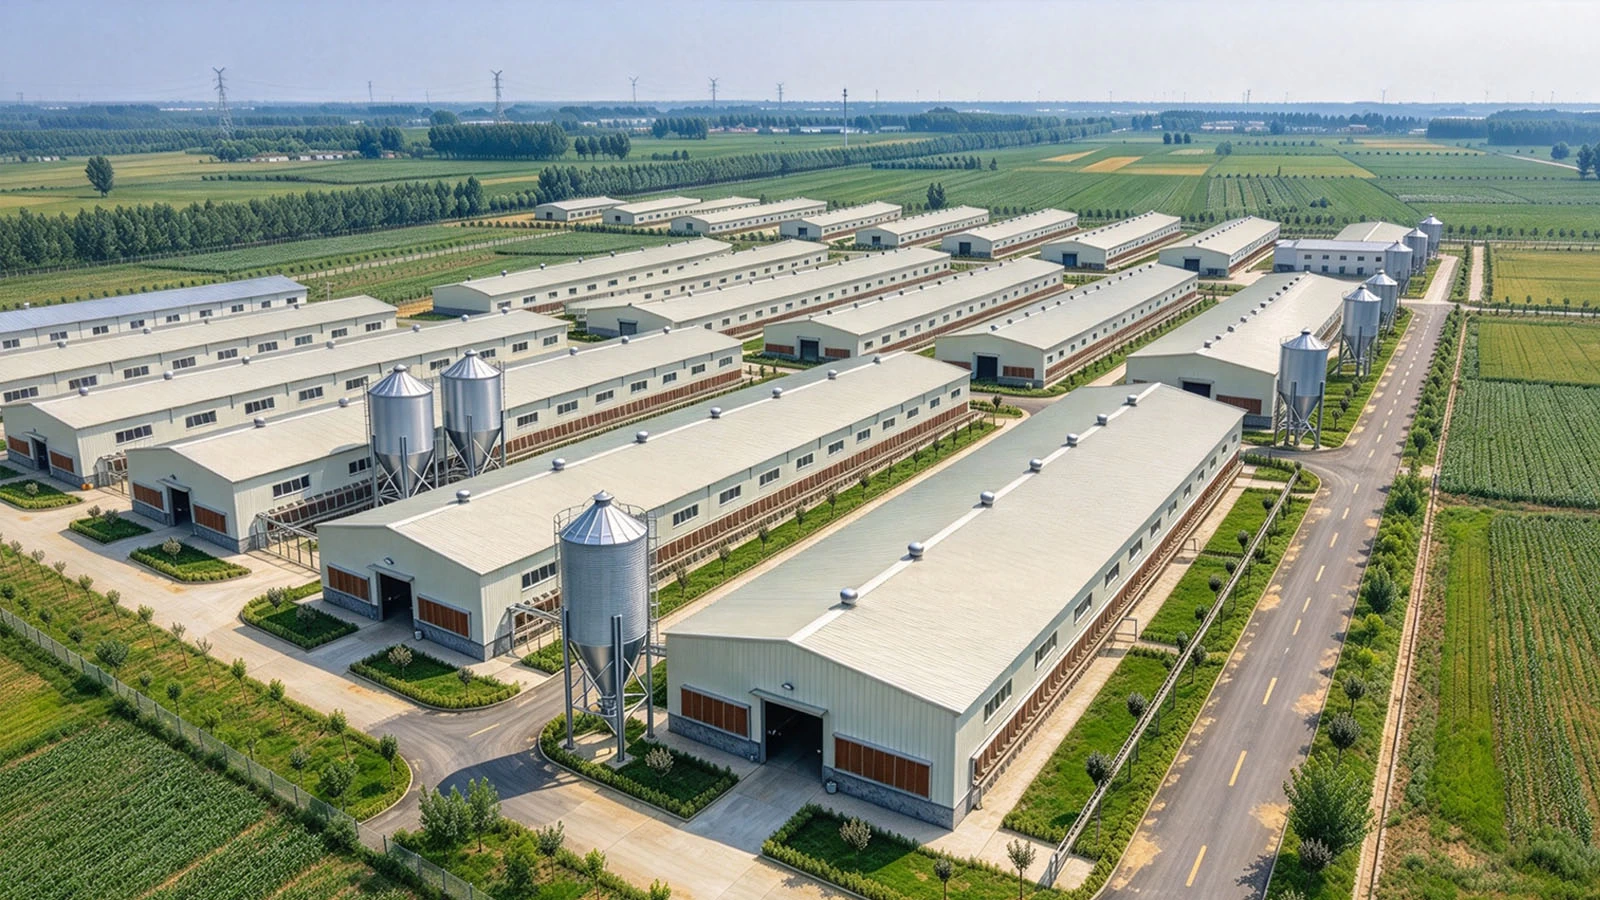
Proper ventilation is the beating heart of modern poultry farming. Your ventilation fans work non-stop to remove harmful gases, regulate humidity, control temperature, and bring in fresh air for your flock. But are you getting the most out of them?
Neglecting fan operation or skipping routine maintenance can cause energy bills to spike, airflow to plummet, and unexpected equipment failures—endangering your birds' health and your bottom line.
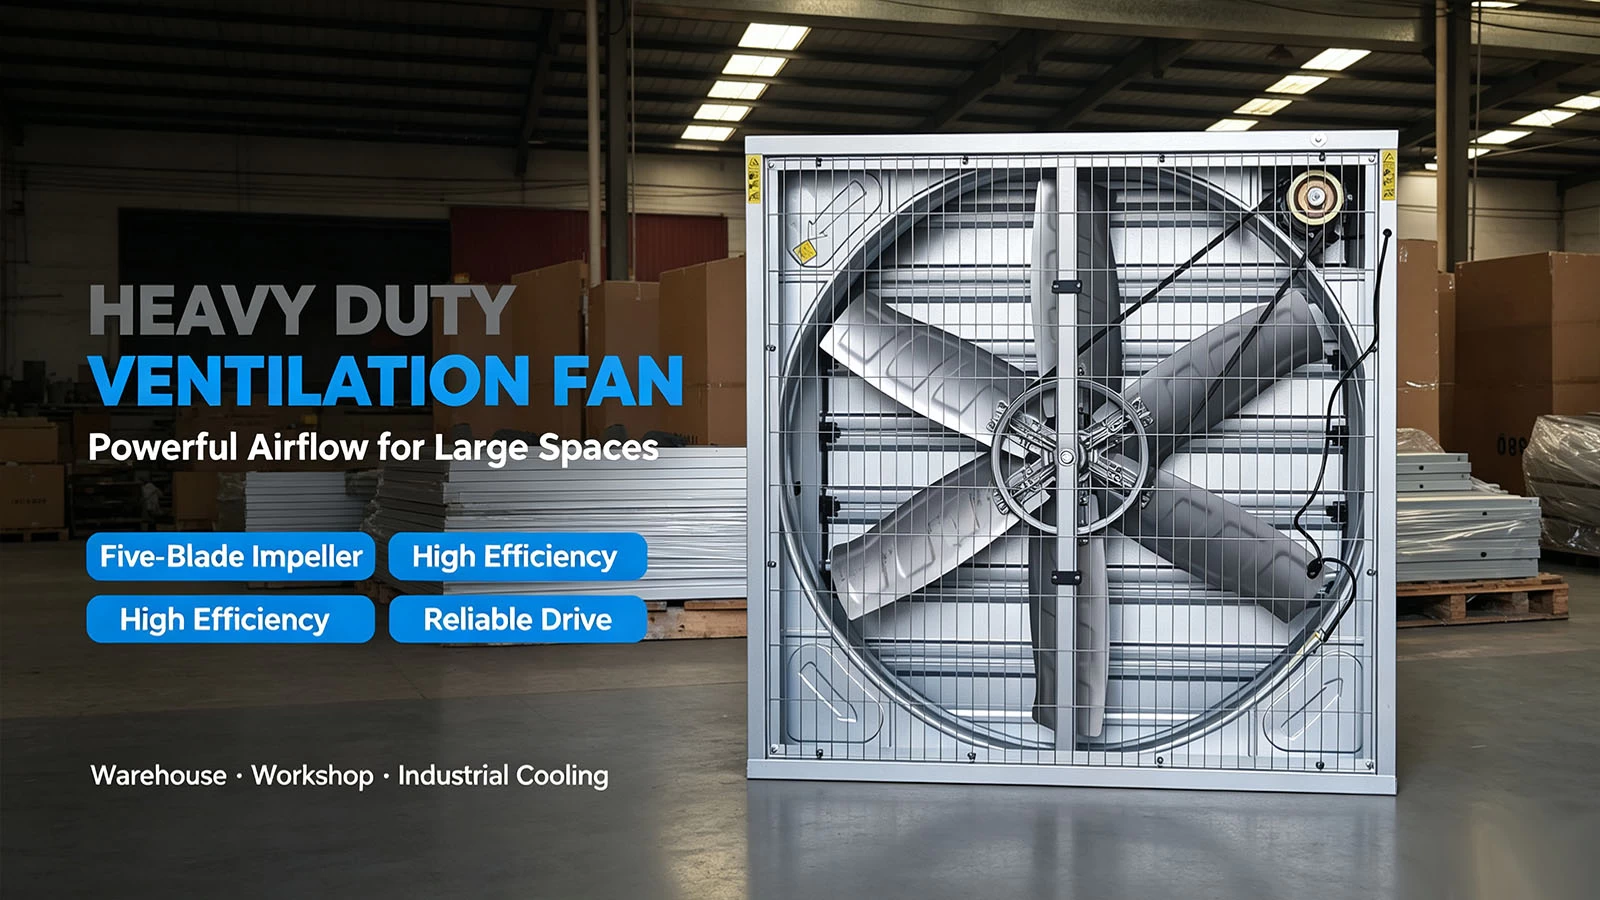
Whether you're running tunnel ventilation or minimal transition airflow, this comprehensive guide will walk you through optimal usage protocols and step-by-step maintenance strategies to keep your fans spinning reliably for years to come.
 |
Part 1: How to Operate Poultry House Fans Like a Pro
To maximize bird comfort and system efficiency, fan operation must be precise and responsive. Here are the core operational rules to follow:
1. Pre-Start Safety & Readiness Check
Before powering on your fans (especially at the start of a flock or after a prolonged shutdown):
- Clear Obstructions: Ensure fan blades, shutters, and wire guards are completely free from debris, feathers, or dust buildup.
- Manual Rotation Check: Spin the fan blades by hand to verify smooth movement and check for any unusual friction or noise.
- Shutter & Louver Inspection: Verify that automatic shutters move freely without sticking.
2. Match Ventilation with Environmental Controllers
Never operate your fans purely on manual switches.
- Connect all fans to an automated environmental controller to adjust airflow dynamically based on bird age, flock density, ambient temperature, and relative humidity.
- Set staggered temperature thresholds to bring fans online incrementally. Turning all fans on or off at once creates sudden pressure shifts and subjects birds to cold drafts or heat shocks.
3. Maintain Balanced Static Pressure
Fan efficiency depends heavily on static pressure balance inside the poultry barn.
- Synchronize fan operation with inlet openings (side-wall vents or cooling pad curtains).
- Aim for optimal static pressure—typically between 10 to 25 Pascals (0.04 to 0.10 inches of water column) depending on house width.
- Warning: Extremely high negative pressure starves the fan for air, forces the motor to overheat, and drastically reduces cubic feet per minute (CFM) output.
4. Post-Startup Monitoring
After powering up, monitor the fans for 1–2 minutes:
- Confirm that motor vibration is minimal.
- Check that shutters open fully under airflow (partial opening reduces airflow by up to 30%).
- Verify there is no backdrafting from non-operating adjacent fans.
Part 2: Preventative Maintenance Schedule
Poultry houses are tough environments—dust, feathers, moisture, and corrosive gases like ammonia can quickly degrade mechanical parts. Follow this structured checklist to maintain high performance.
📅 Weekly Maintenance: Cleaning & Visual Audits
📅 Weekly Maintenance: Cleaning & Visual Audits
- Clean the Blades and Guards:Dust accumulation on fan blades changes their aerodynamic profile and unbalances the motor, driving up power consumption. Use a stiff brush or air blower to clear dust and feathers weekly.
- Keep Shutters Free-Moving:Dirt build-up on shutter hinges prevents them from opening fully or closing tightly. Wipe down louvers and apply a light silicone lubricant to pivot points.
📅 Monthly Maintenance: Belts, Motors & Bearings
- Adjust Belt Tension (For Belt-Driven Fans):
- Check belt tension by pressing firmly on the center of the belt span. A properly tensioned belt should deflect about 1/2 inch (10–15 mm).
- Loose belts slip, causing significant CFM drops and accelerating belt wear.
- Over-tightened belts strain motor bearings, causing premature failure.
- Replace belts immediately if you spot fraying, cracks, or glazed sides.
- Clear Motor Housing:Dust layers on the motor outer shell act as insulation, trapping heat inside. Clean the cooling fins on the motor shell to prevent thermal overload and burnouts.
- Lubricate Bearings:If your fan bearings feature grease zerk fittings, apply a high-temperature grease according to manufacturer specifications (avoid over-greasing, as blowing out seals causes grease contamination).
📅 End-of-Flock (Flock Break) Deep Maintenance
When the house is empty between batches, conduct a deep clean and mechanical overhaul:
- Deep Washing: High-pressure wash fan housing, blades, and shutters. Cover electrical connections or motors if they are not washdown-rated.
- Fastener Tightening: Vibration can loosen motor brackets, housing bolts, and blade set screws over time. Re-torque all hardware.
- Rust Prevention & Touch-Up: Inspect metal framing and housings for signs of corrosion caused by ammonia. Sand off rust spots and apply a fresh coat of rust-inhibiting zinc/galvanized spray.
⚠️ Safety Warnings to Remember
CAUTION: Always disconnect and lock out main electrical power (LOTO) before performing any cleaning, belt adjustments, or repairs! Never insert hands or tools through protective guards while the fan is energized or spinning down.
Summary Checklist for Maximum Fan Lifespan
| Component | Action | Frequency |
Blades & Guards | Clear dust and feather buildup | Weekly |
Shutters & Hinges | Clean and apply light lubricant | Weekly |
Drive Belts | Inspect tension (1/2" flex) & check for cracks | Monthly |
Motor Fins | Brush/blow off dust insulation | Monthly |
Bearings | Grease via zerk fittings (if applicable) | Monthly / Bi-monthly |
Complete System | Pressure wash, tighten bolts, touch up paint | Flock Break |
Ready to Optimize Your Poultry House Ventilation?
Investing just 15 to 30 minutes a week into fan maintenance will reduce energy overhead, prevent unexpected summer thermal stress in your birds, and extend the lifespan of your equipment by years.
Have questions about calculating house CFM requirements or troubleshooting fan noise? Drop a comment below or contact our technical team!