

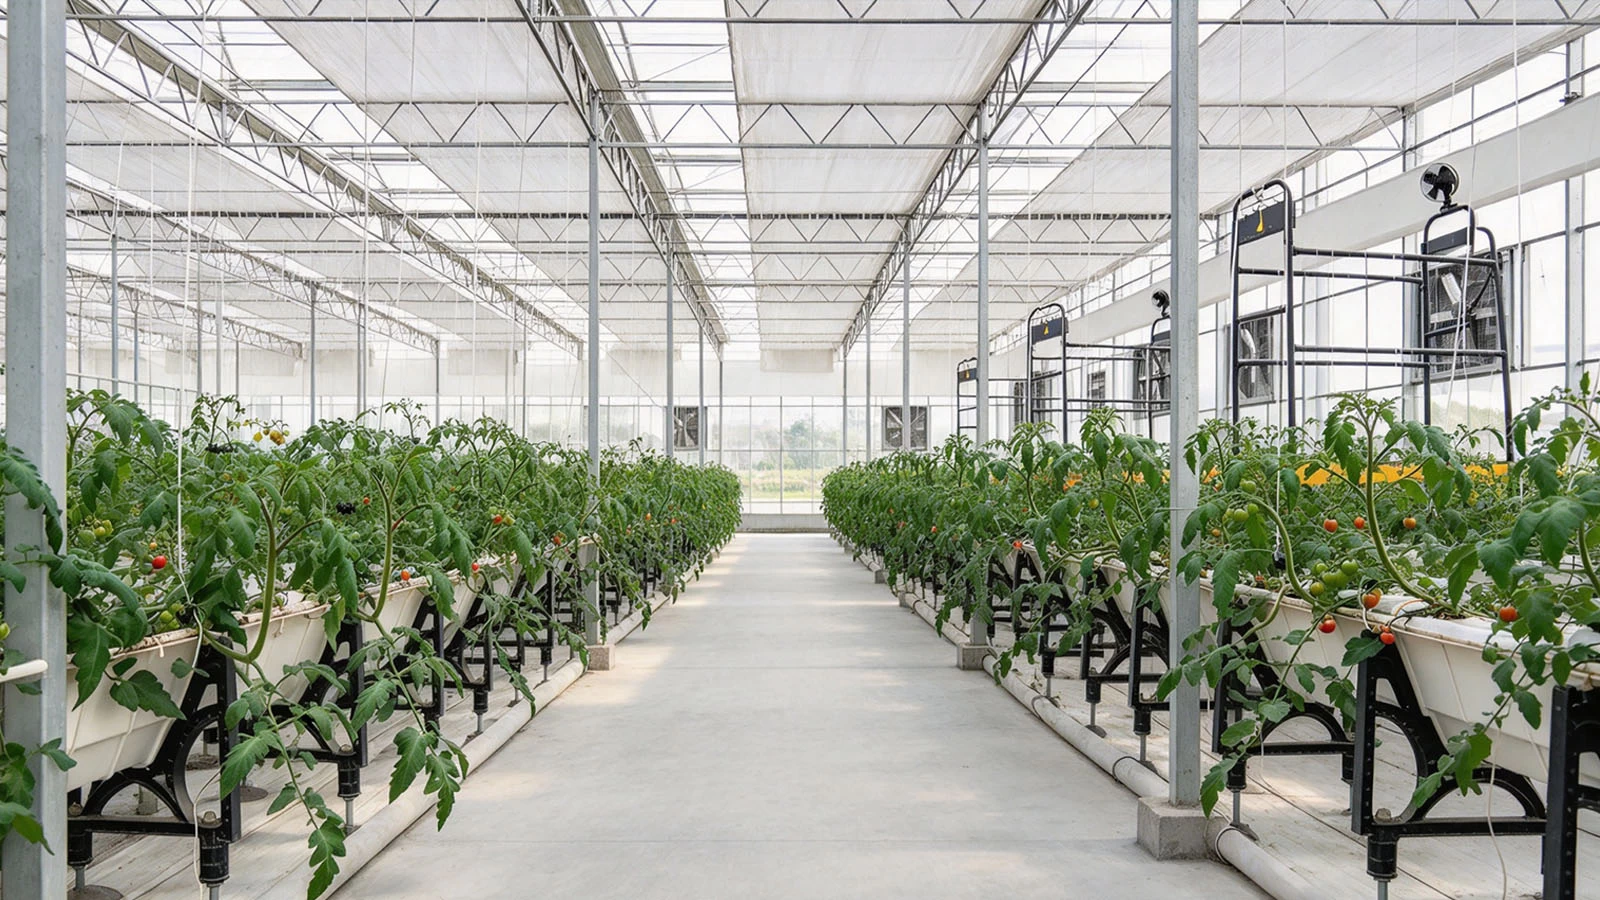
Why Precision Installation Matters
Even the highest-grade exhaust fans and cooling pads will underperform if installed improperly. Issues like air leakage around frames, misaligned fan shutters, or incorrect spacing create "dead zones" where air stagnates, raising local temperatures and wasting electrical energy.
 |
Step 1: Strategic Placement of Fans and Air Inlets
To establish an efficient wind tunnel effect, equipment layout must adhere to key spatial rules:
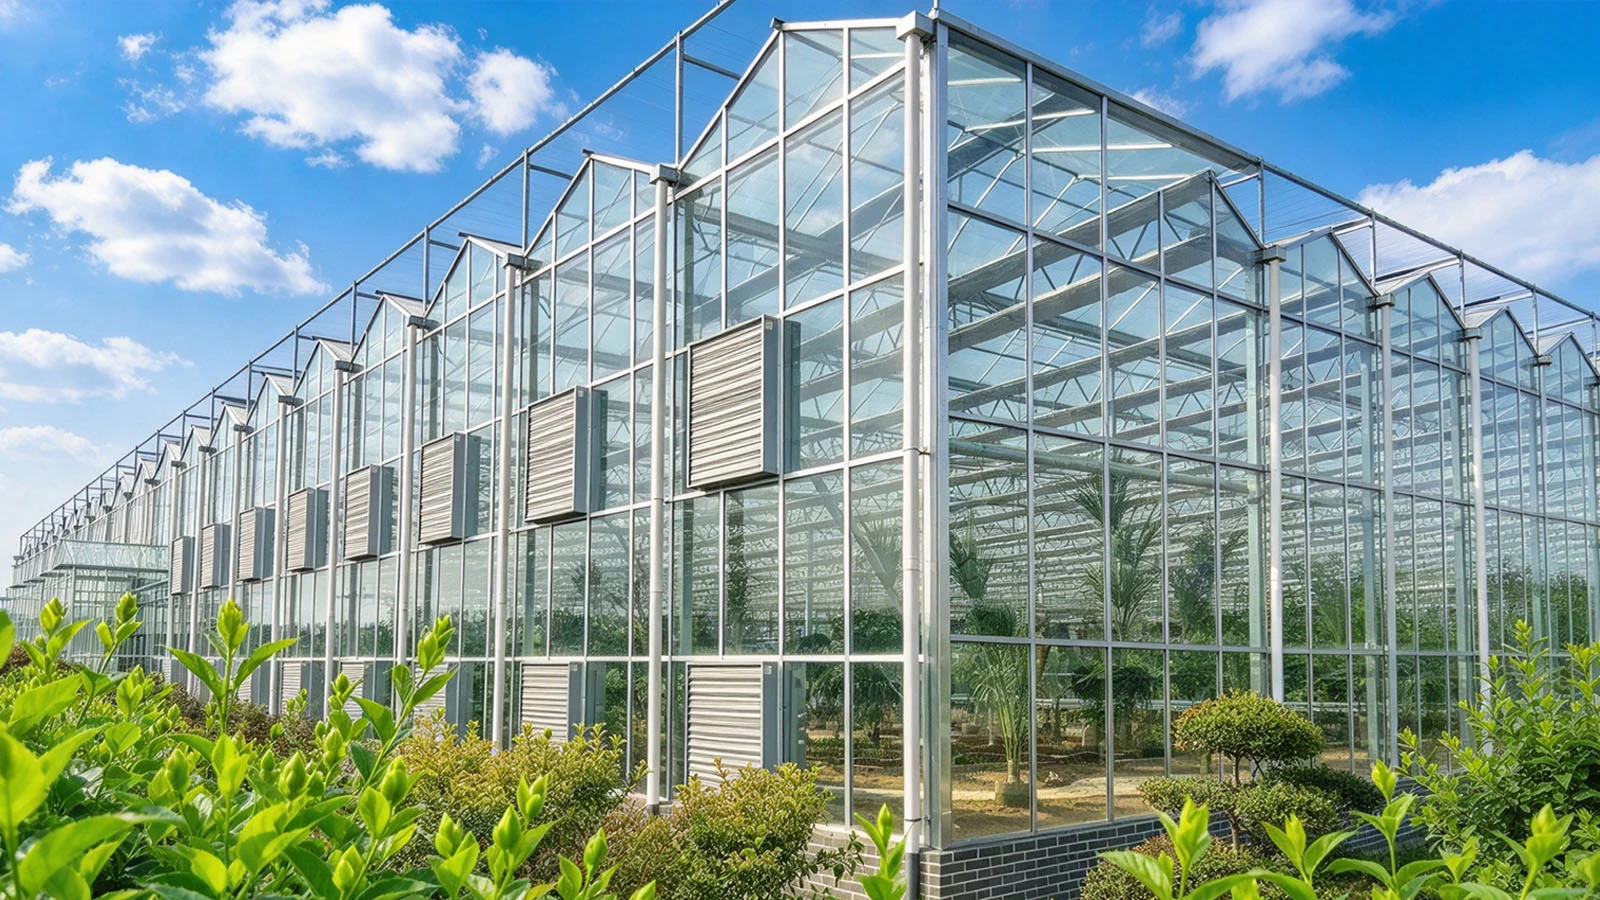
Opposing Wall Alignment: Mount exhaust fans on the wall facing away from prevailing summer winds whenever possible, with cooling pads mounted directly opposite.
Height Positioning: Position fans at crop canopy height to ensure fresh air moves through the plant zone rather than passing harmlessly overhead.
Uniform Spacing: Avoid clustering fans together. Space multiple units evenly along the exhaust wall to ensure uniform static pressure distribution.
Step 2: Wall Framing, Structural Support, and Sealing
Modern agricultural exhaust fans feature substantial weights and generate operational vibration.
Support Frames: Construct robust galvanized steel mounting frames embedded directly into the greenhouse structural columns.
Airtight Sealing: Seal every gap between the fan frame and the wall cladding using polyurethane foam or weather-resistant silicone. Air leaking around fan edges creates "short-circuiting," where the fan simply recirculates outside air without pulling air across the greenhouse.
Water Drain Slopes: Ensure cooling pad frames incorporate proper catch basins and bottom drainage channels to prevent water accumulation and structural corrosion.
Step 3: Electrical Wiring and Shutter Calibration
Motor Protection: Connect fans through thermal overload relays and dedicated motor circuit breakers to guard against phase loss and voltage fluctuations.
Centrifugal Push-Pull Shutters: Calibrate shutter linkages so they open completely90°when the motor engages and seal tight against draft and rain when powered down.