

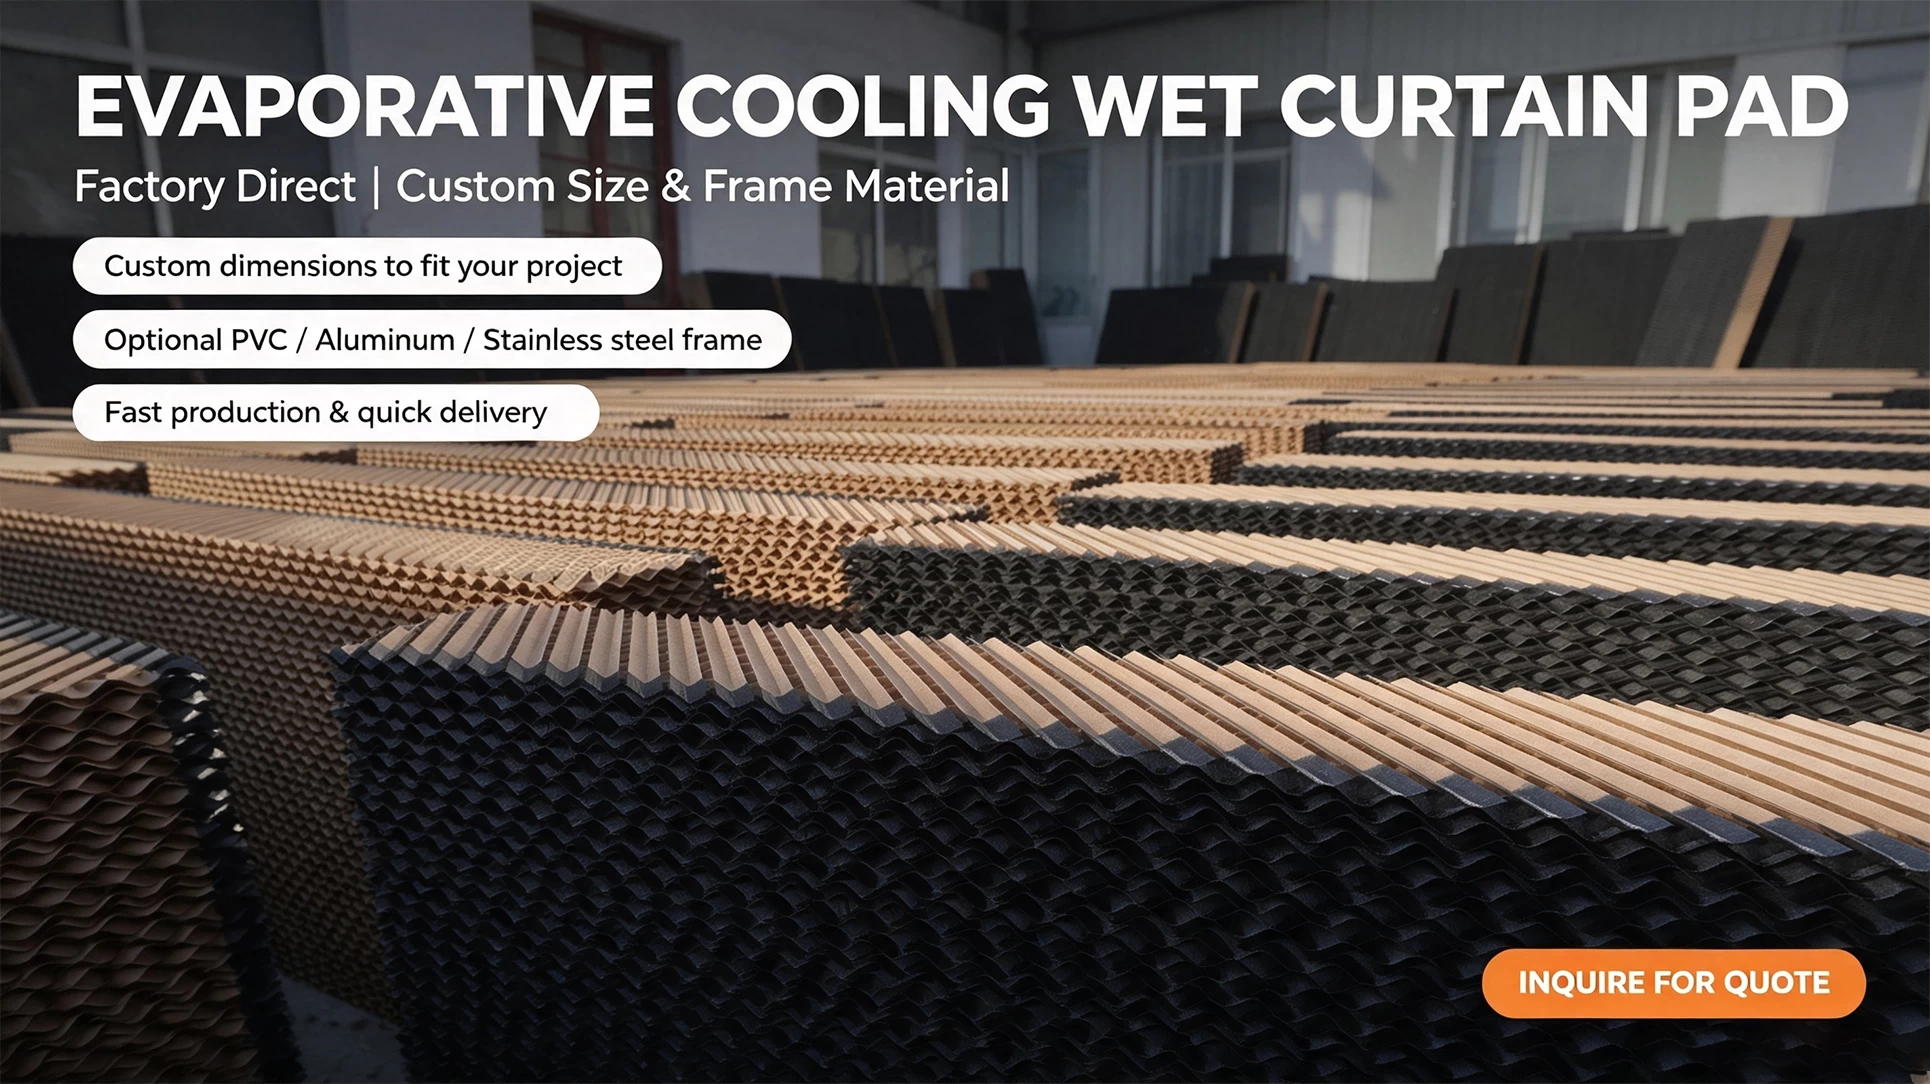
Maintaining an optimal microclimate inside poultry houses is essential for bird health, feed conversion rates, and overall farm profitability. Evaporative cooling pads, paired with negative pressure exhaust fans, form the most effective cooling system for modern poultry farms.
 |
However, even the highest-grade cellulose cooling pads cannot perform efficiently if installed incorrectly. Proper installation ensures maximum thermal efficiency, uniform airflow, and a longer service life without water carry-over or leakages.
In this guide, we break down the primary installation methods, step-by-step setup procedure, and critical considerations for installing cooling pads in poultry houses.
Key Installation Methods for Poultry Houses
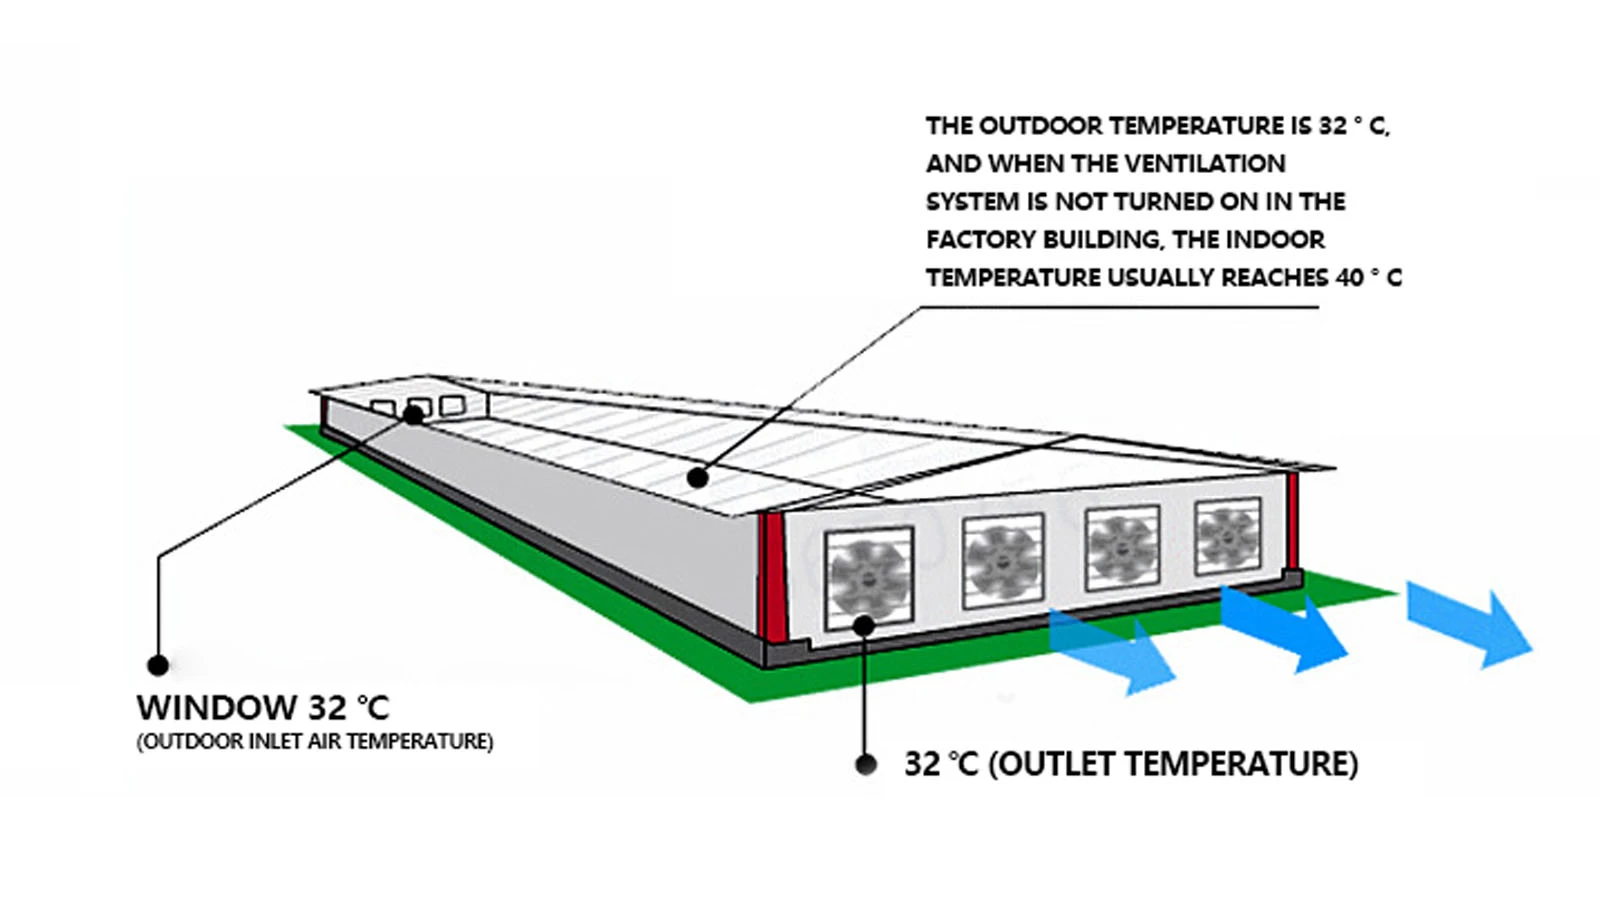
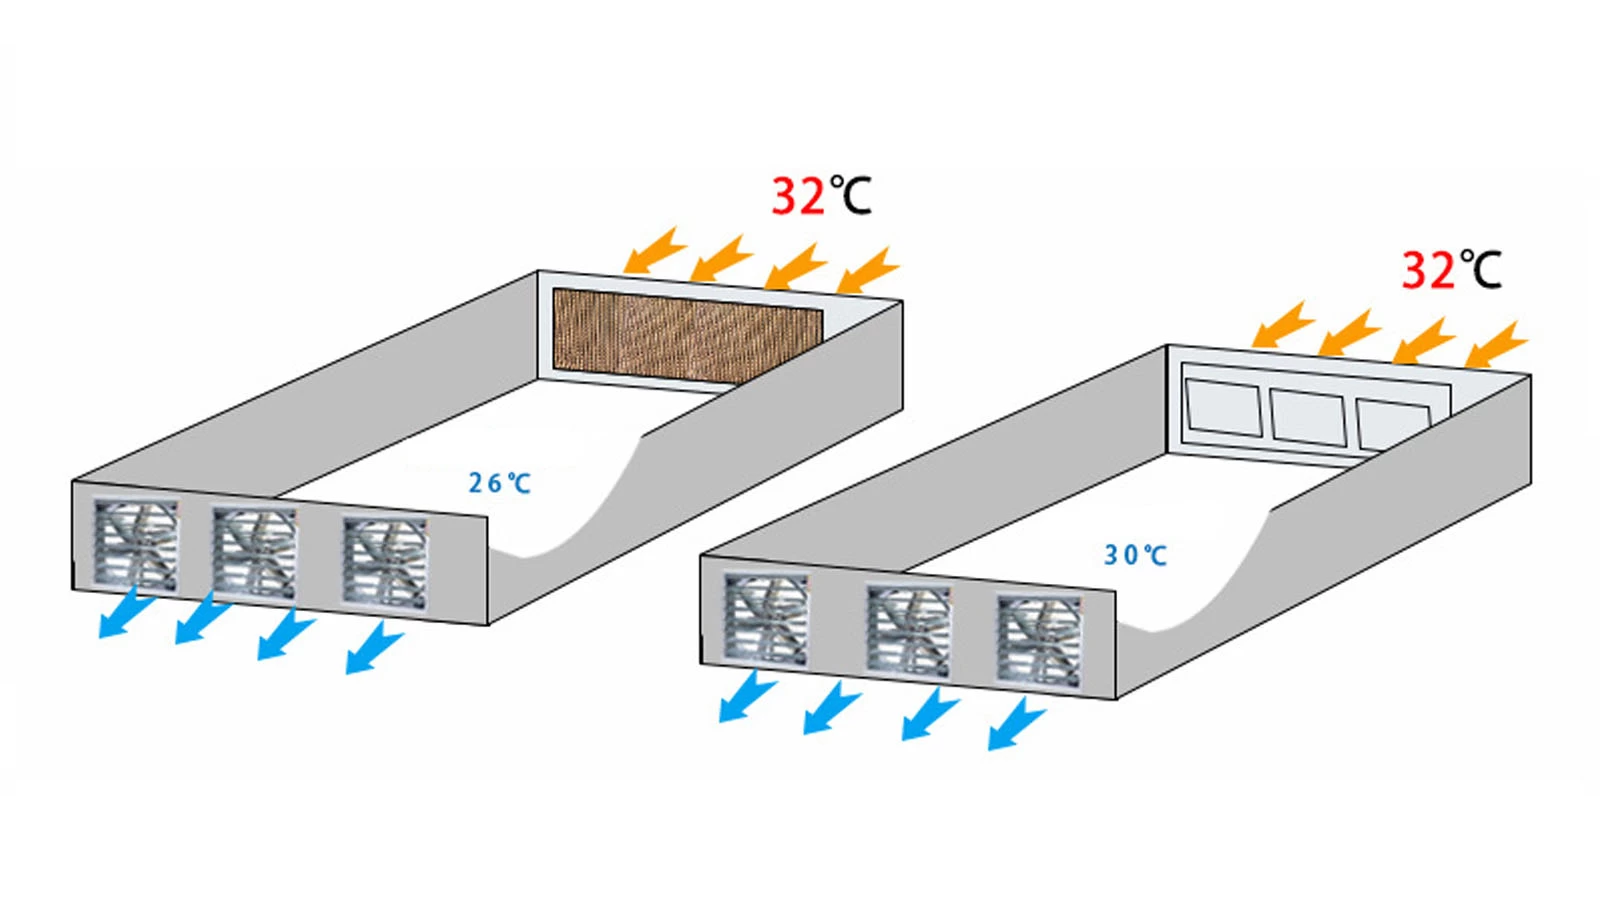
Depending on your chicken house layout, local climate, and structural design, evaporative cooling pads are generally installed in two primary configurations:
1. Sidewall Longitudinal Installation (Most Common)
Setup: Cooling pads are mounted along both side walls at the front (air intake) end of the poultry house.
Best For: Tunnel-ventilated broiler and layer houses with standard width-to-length ratios.
Advantage: Provides balanced air distribution along the entire length of the shed as negative pressure pulls air through both sides toward the exhaust fans at the rear.
2. Gable End Wall Installation
Setup: Cooling pads are installed directly across the front end wall (gable wall) of the building.
Best For: Narrower poultry houses or farms located in regions with severe direct sunlight on side walls.
Advantage: Simplifies plumbing and pipe distribution into a single continuous cooling wall.
 |  |
Step-by-Step Installation Procedure
Step 1: Framework & Framing Setup
Ensure the supporting frame (aluminum alloy, stainless steel, or galvanized steel) is level, square, and securely anchored to the building structure. The frame must support the weight of both the dry pads and the fully saturated wet pads.
Step 2: Bottom Water Trough & Plumbing Installation
Install the bottom return water trough with a slight slope toward the drainage sump or filter reservoir. Ensure all pipe joints, water distribution lines, and return gutters are completely sealed to prevent leaks.
Step 3: Placing the Cooling Pad Media
Slide the cellulose cooling pad blocks tightly into the frame.
Orientation Check: Pay close attention to the flute angles (e.g., 45°/15° or 60°/30°). The steeper angle must face outward toward the incoming air to prevent water droplets from blowing into the chicken house.
Tight Fit: Ensure zero gaps between adjacent pad blocks to eliminate hot air bypass.
Step 4: Top Water Distribution Pipe & Cover Plate
Install the perforated PVC distribution pipe along the top of the pads. Place the top deflector cover/header plate securely over the pipe to ensure water is evenly distributed across the top edge without spraying outward.
Crucial Considerations for Optimal Performance
Sealing & Draft Prevention: When the cooling system is turned off during cold seasons, install tight-sealing insulated curtains or shutters over the pad opening to avoid cold drafts.
Water Quality & Filtration: Always route water through a fine mesh filter before it enters the distribution pipe. Clean water prevents clogging and mold growth, extending the operational lifespan of the pad.
Proper Sizing: Calculate total pad surface area based on the total CFM requirements of your exhaust fans to maintain optimal air velocity (typically 250–350 fpm across the pad surface).
Need Premium Cooling Media for Your Poultry Farm?
High-performance cooling starts with high-performance media. North Husbandry manufactures heavy-duty, phenol-free evaporative cooling pads engineered with advanced anti-rot and anti-mold treatments for demanding livestock environments.
Whether you are constructing a new poultry project or replacing worn-out cooling media, our technical team is ready to assist with sizing, installation layout, and system optimization.
👉 Contact our technical specialists today to get a custom quote for your farm!